Here's the thing. Everything was going great until I read this directive: "The pie is finished when the edges are set and puffed slightly and the center is no longer liquid but still quite wobbly. Be careful not to overbake or the custard can separate; the filling will continue to cook and set after the pie is removed from the oven."
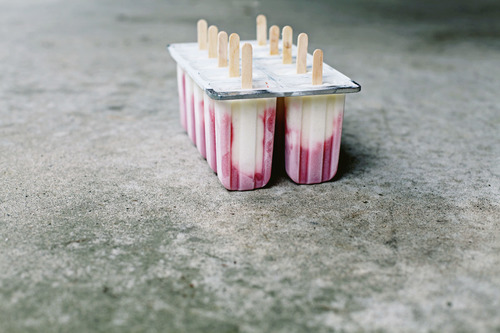
Matt and I pulled the pie out of the oven and decided that that's exactly what we had: slightly puffed edges with a still quite wobbly center (though no longer liquid). We also decided that potentially overbaking and causing the custard to separate was a fate to be avoided at all cost. But three hours at room temperature later, our pie wasn't even close to set up in the center. We threw it in the refrigerator and hoped that by the time we were ready for dessert, it would be too.

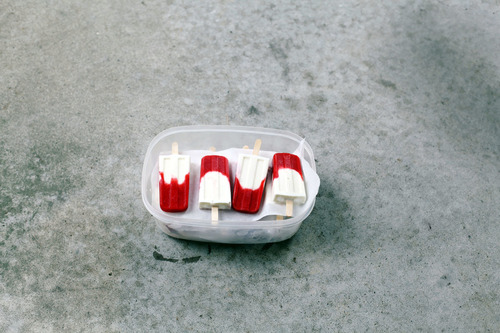
Only it wasn't. But as previously mentioned, we ate it anyway, liquid center and all.
However, the next morning, it looked like this—not completely set, but pretty close:

The possible takeaway lesson? Don't be afraid to leave this pie in a little longer than specified. Plus, for me at least, I think I'd prefer a separated custard to a liquid one. Either that or the next time I make this (and I think there will be a next time as, on the second day, it was basically everything I've ever wanted in a pie) I could make it the day before I'd like to eat it, thus leaving time for it to spend the night in the refrigerator.

Point being, I hope your 2014 includes at least four to five homemade pies and zero cleanses guilted upon you by the January onslaught of articles and recipes titled something to the effect of, "Planning Your Perfect Cleanse" (unless of course, you really want to cleanse, then, please, by all means!).
Maple Buttermilk Custard Pie via The Four and Twenty Blackbirds Pie Book
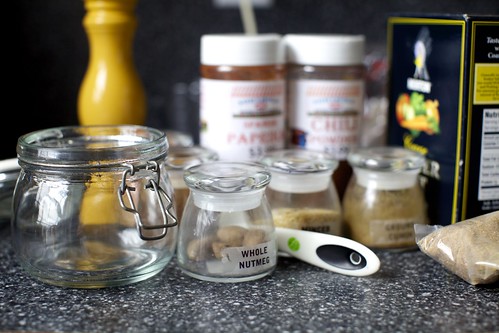
Cornmeal Crust for a 9-inch single-crust pie, partially pre-baked (recipe below)
1 tablespoon unbleached all-purpose flour
1 tablespoon stone-ground white cornmeal
¼ cup packed light brown sugar
½ teaspoon kosher salt
5 tablespoons unsalted butter, melted
1 teaspoon vanilla paste (or vanilla extract)
1 cup sour cream
3 large eggs
1 large egg yolk
¾ cup maple syrup (preferably Grade B)
1 cup buttermilk
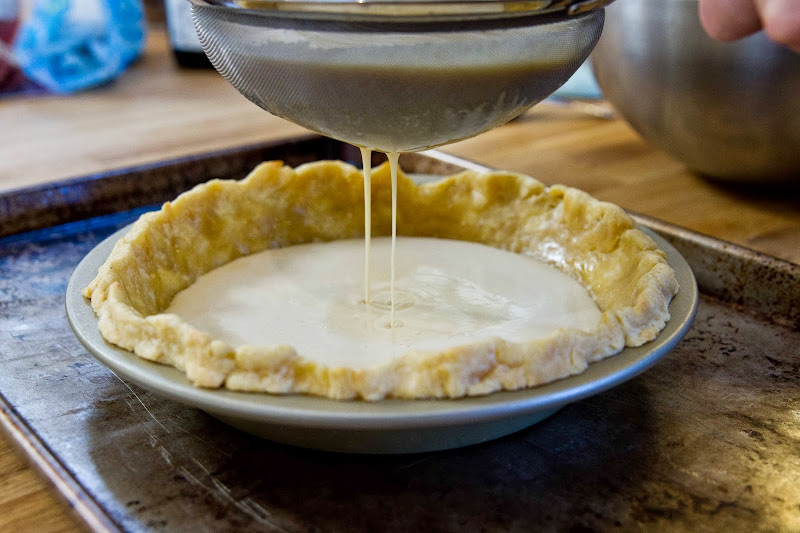
Position a rack in the center of the oven and preheat the oven to 325°F. Place the prebaked pie shell on a rimmed baking sheet.
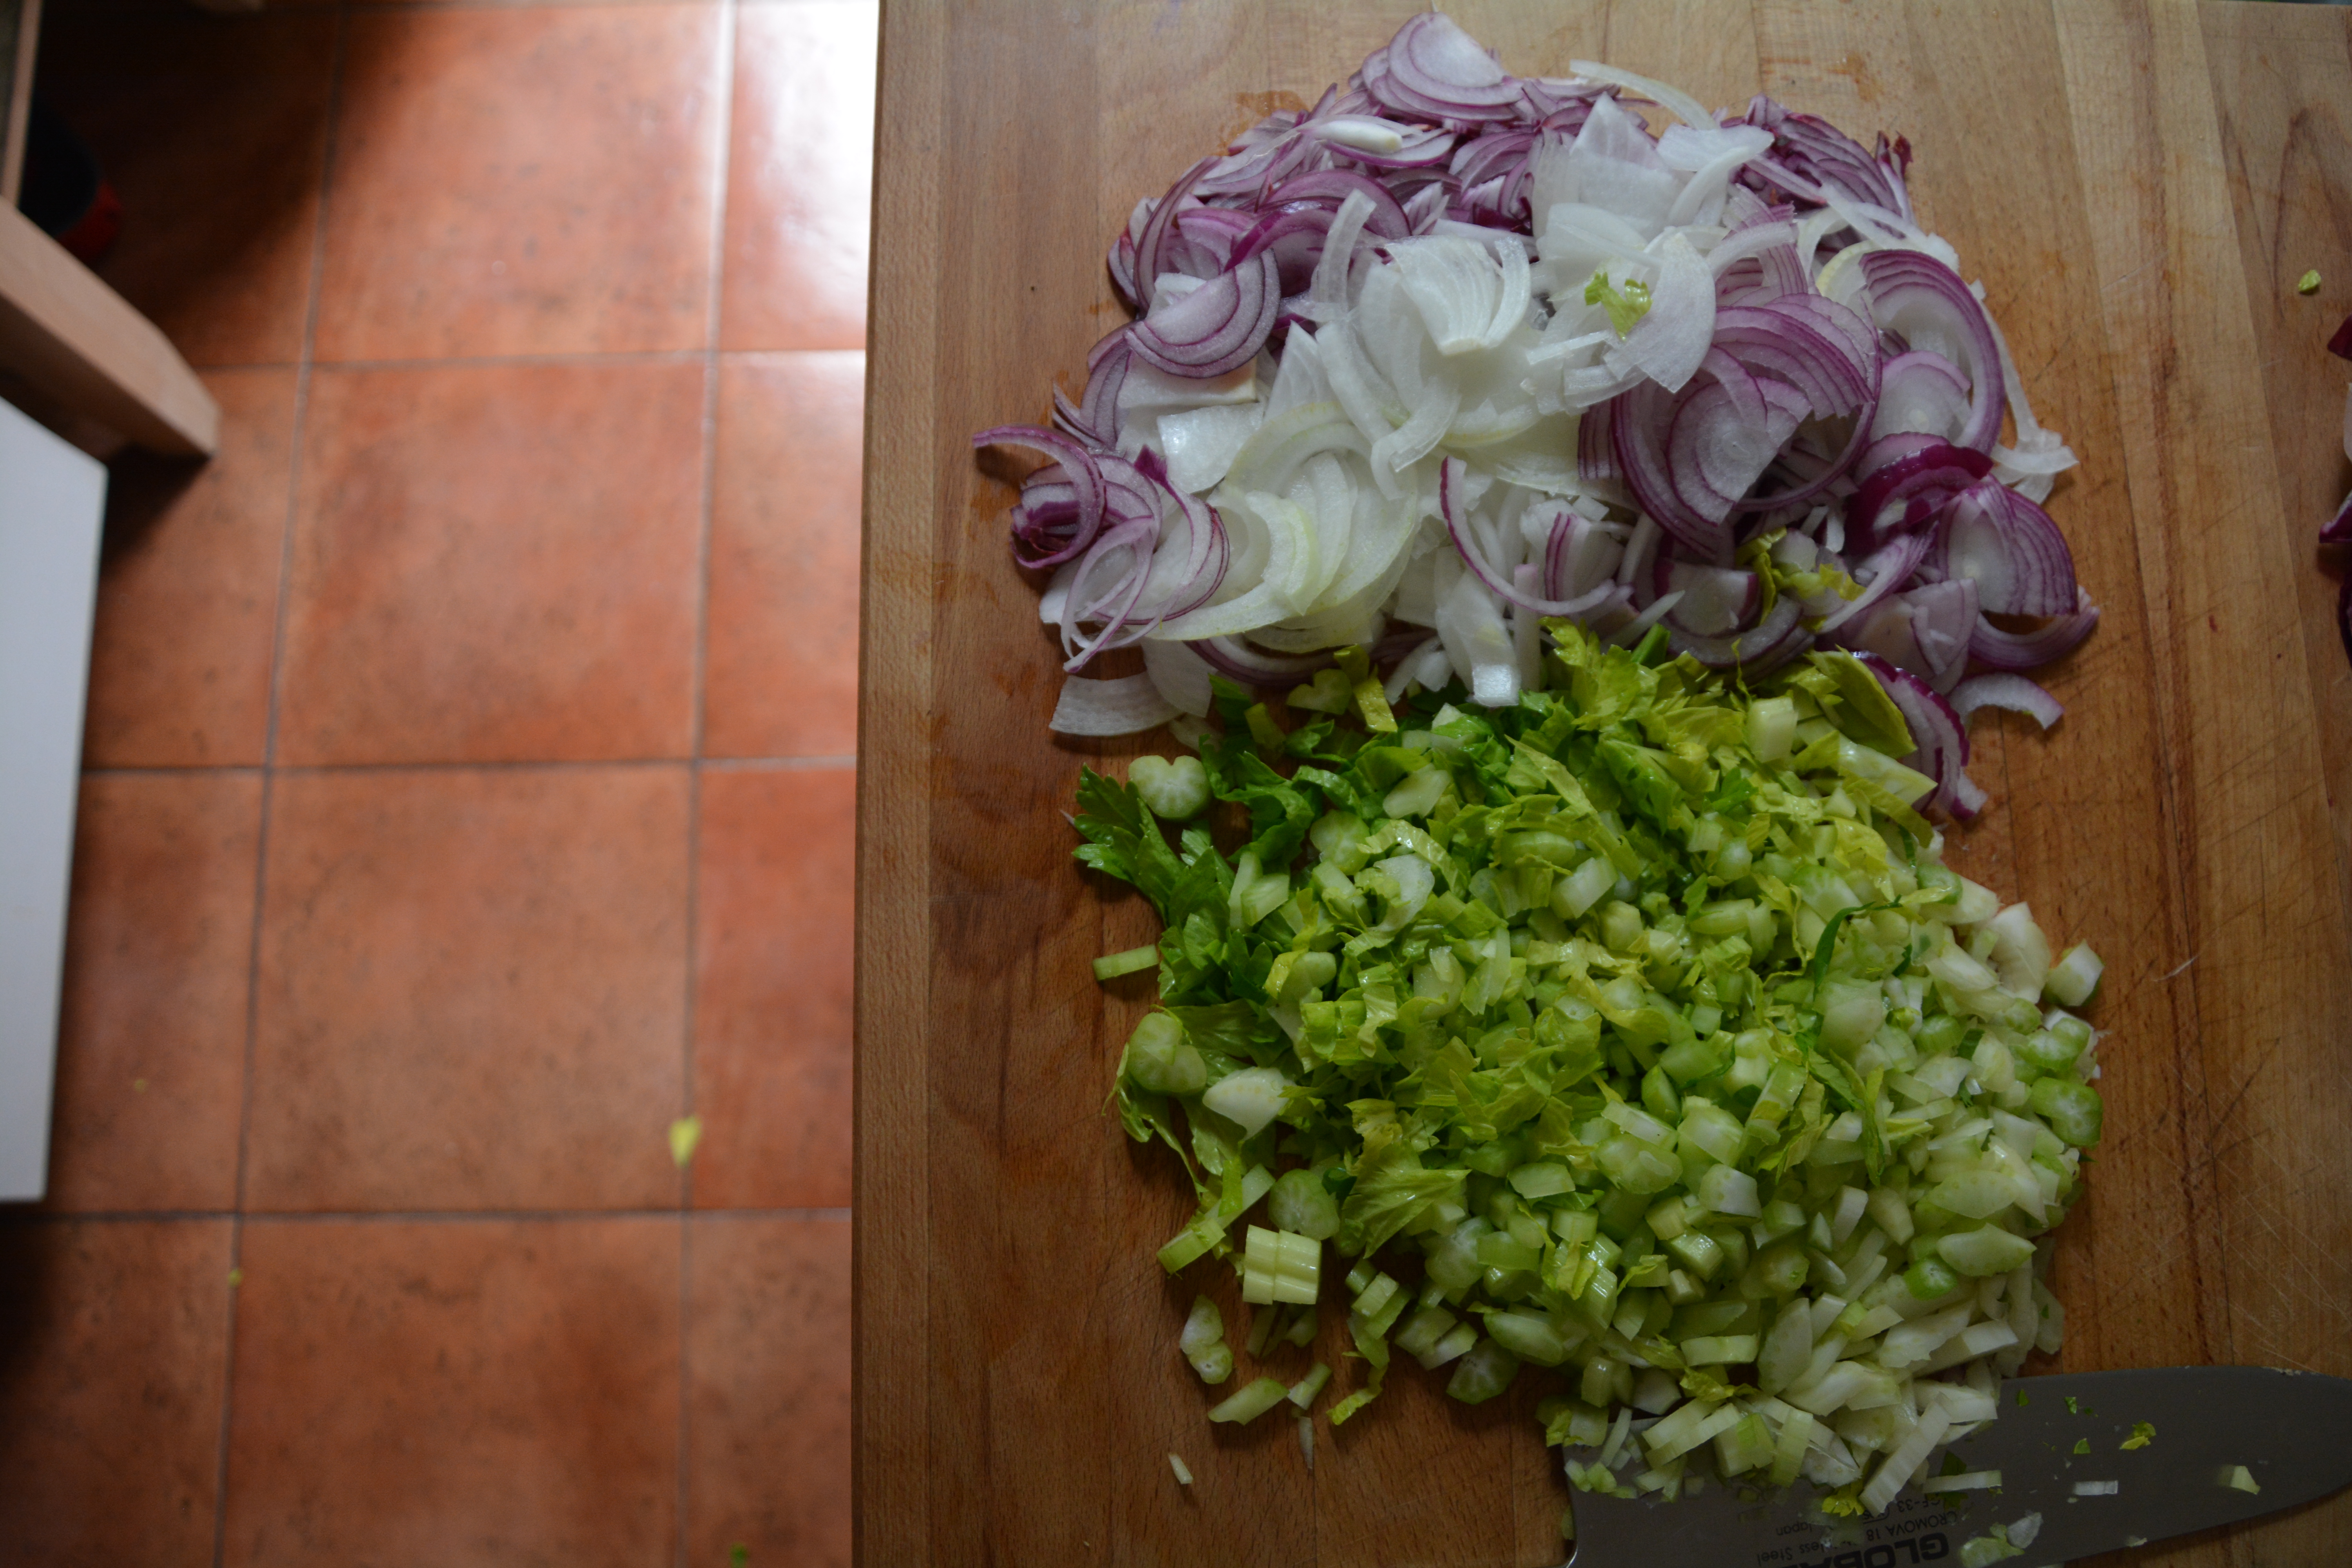
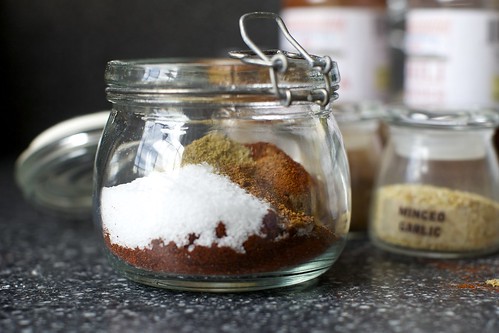
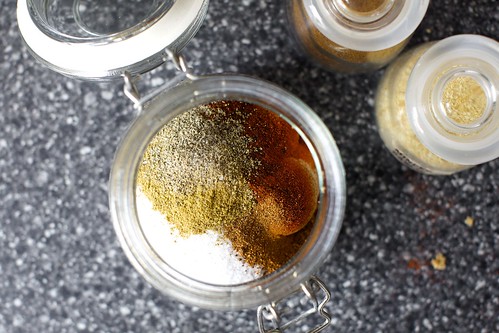
In a large bowl, mix together the flour, cornmeal, brown sugar, salt, and melted butter. Add the vanilla paste (or vanilla extract) and the sour cream and stir until smooth. Add the eggs and egg yolk one at a time, blending well after each addition. Add the maple syrup and buttermilk and mix until smooth.
Strain the filling through a fine-mesh sieve directly into the pie shell, or strain it into a separate bowl and then pour it into the shell. (FYI: I was left with about 1/3 cup of filling that would not make it through the strainer.)
Bake on the middle rack of the oven for 45 to 55 minutes, rotating 180 degrees when the edges start to set, 30 to 35 minutes through baking.
The pie is finished when the edges are set and puffed slightly and the center is no longer liquid but still quite wobbly.
Be careful not to overbake or the custard can separate; the filling will continue to cook and set after the pie is removed from the oven.
Allow to cool completely on a wire rack, 2 to 3 hours. Serve slightly warm, at room temperature, or cool. The pie will keep refrigerated for 2 days or at room temperature for 1 day.
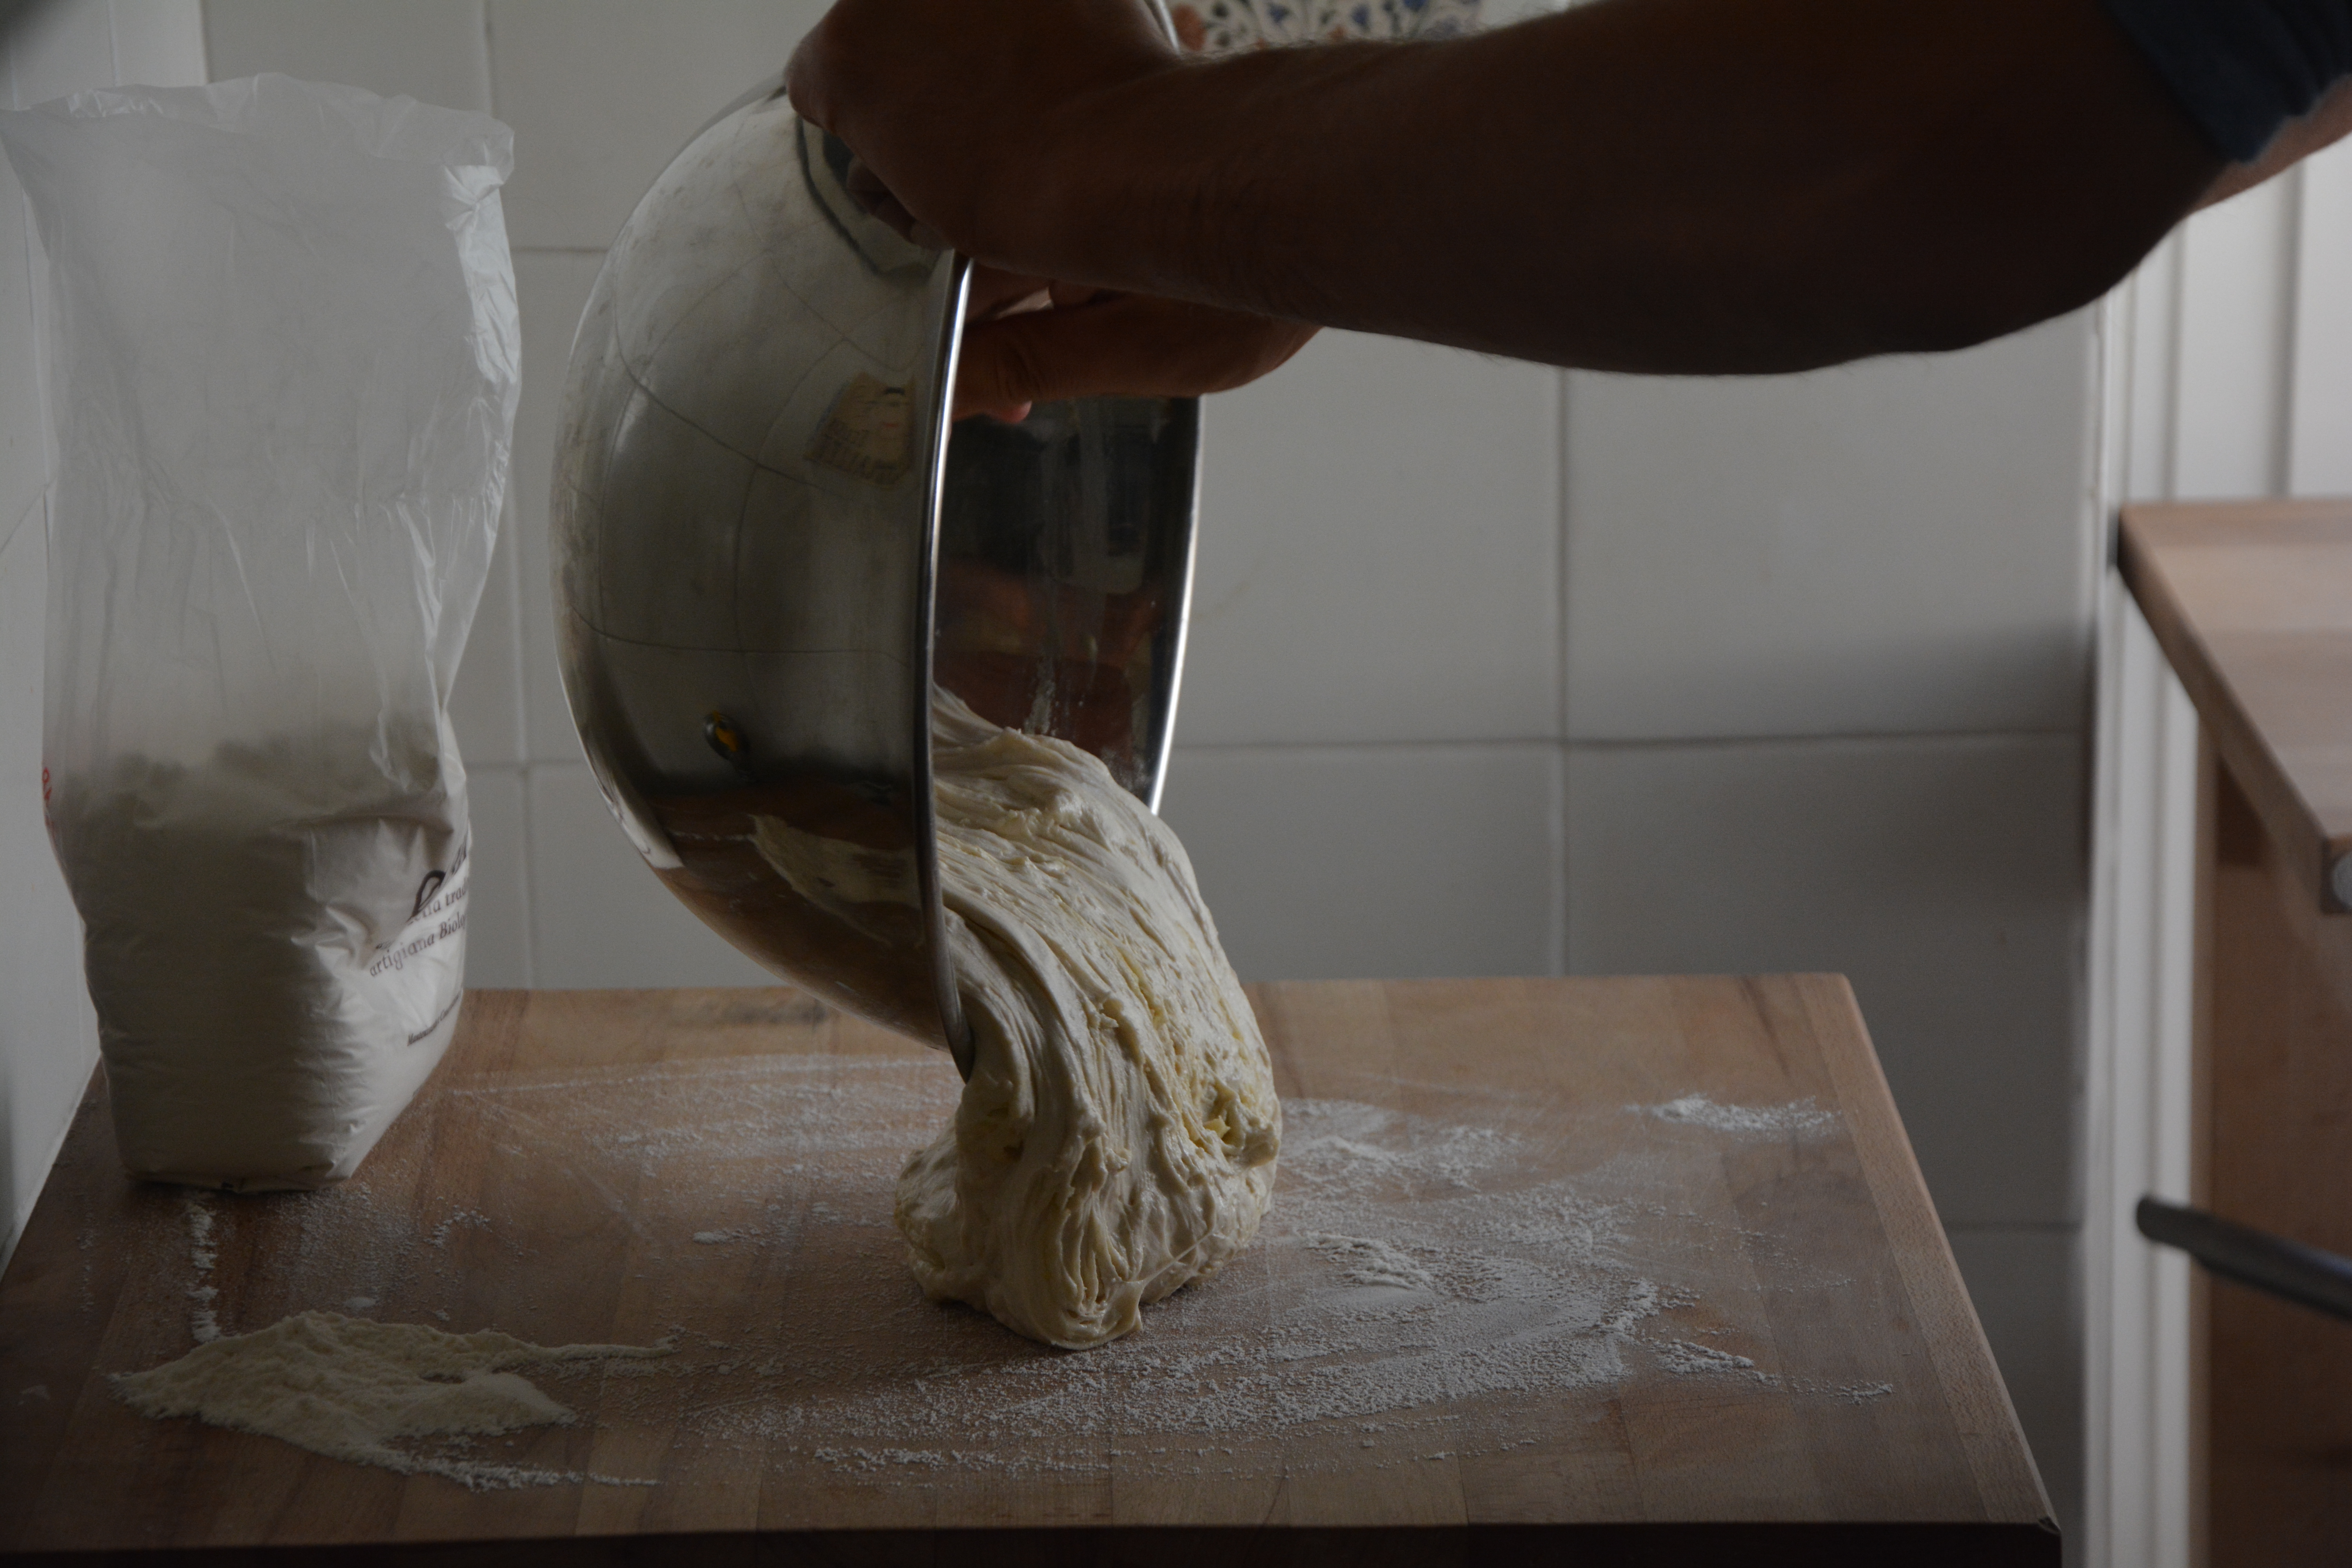
Combine the water, cider vinegar, and ice in a large measuring cup or small bowl. Sprinkle 2 tablespoons of the ice water mixture over the flour mixture, and mix and cut it in with a bench scraper or spatula until it is fully incorporated. Add more of the ice water mixture, 1 to 2 tablespoons at a time, and mix until the dough comes together in a ball, with some dry bits remaining. Squeeze and pinch with your fingertips to bring all the dough together, sprinkling dry bits with more small drops of the ice water mixture, if necessary, to combine.
Cornmeal Crust (for a single-crust pie)
1 cup unbleached all-purpose flour
¼ cup stone-ground cornmeal
½ teaspoon kosher salt
1½ teaspoons granulated sugar
¼ pound (1 stick) cold unsalted butter, cut into ½-inch pieces
½ cup cold water
2 tablespoons cider vinegar
½ cup ice
Stir the flour, cornmeal, salt, and sugar together in a large bowl. Add the butter pieces and coat with the flour mixture using a spatula. With a pastry blender (or using your fingers like we did), cut the butter into the flour mixture, working quickly until mostly pea-size pieces of butter remain (a few larger pieces are okay; be careful not to over blend).
Combine the water, cider vinegar, and ice in a large measuring cup or small bowl. Sprinkle 2 tablespoons of the ice water mixture over the flour mixture, and mix and cut it in with a bench scraper or spatula until it is fully incorporated. Add more of the ice water mixture, 1 to 2 tablespoons at a time, and mix until the dough comes together in a ball, with some dry bits remaining. Squeeze and pinch with your fingertips to bring all the dough together, sprinkling dry bits with more small drops of the ice water mixture, if necessary, to combine.
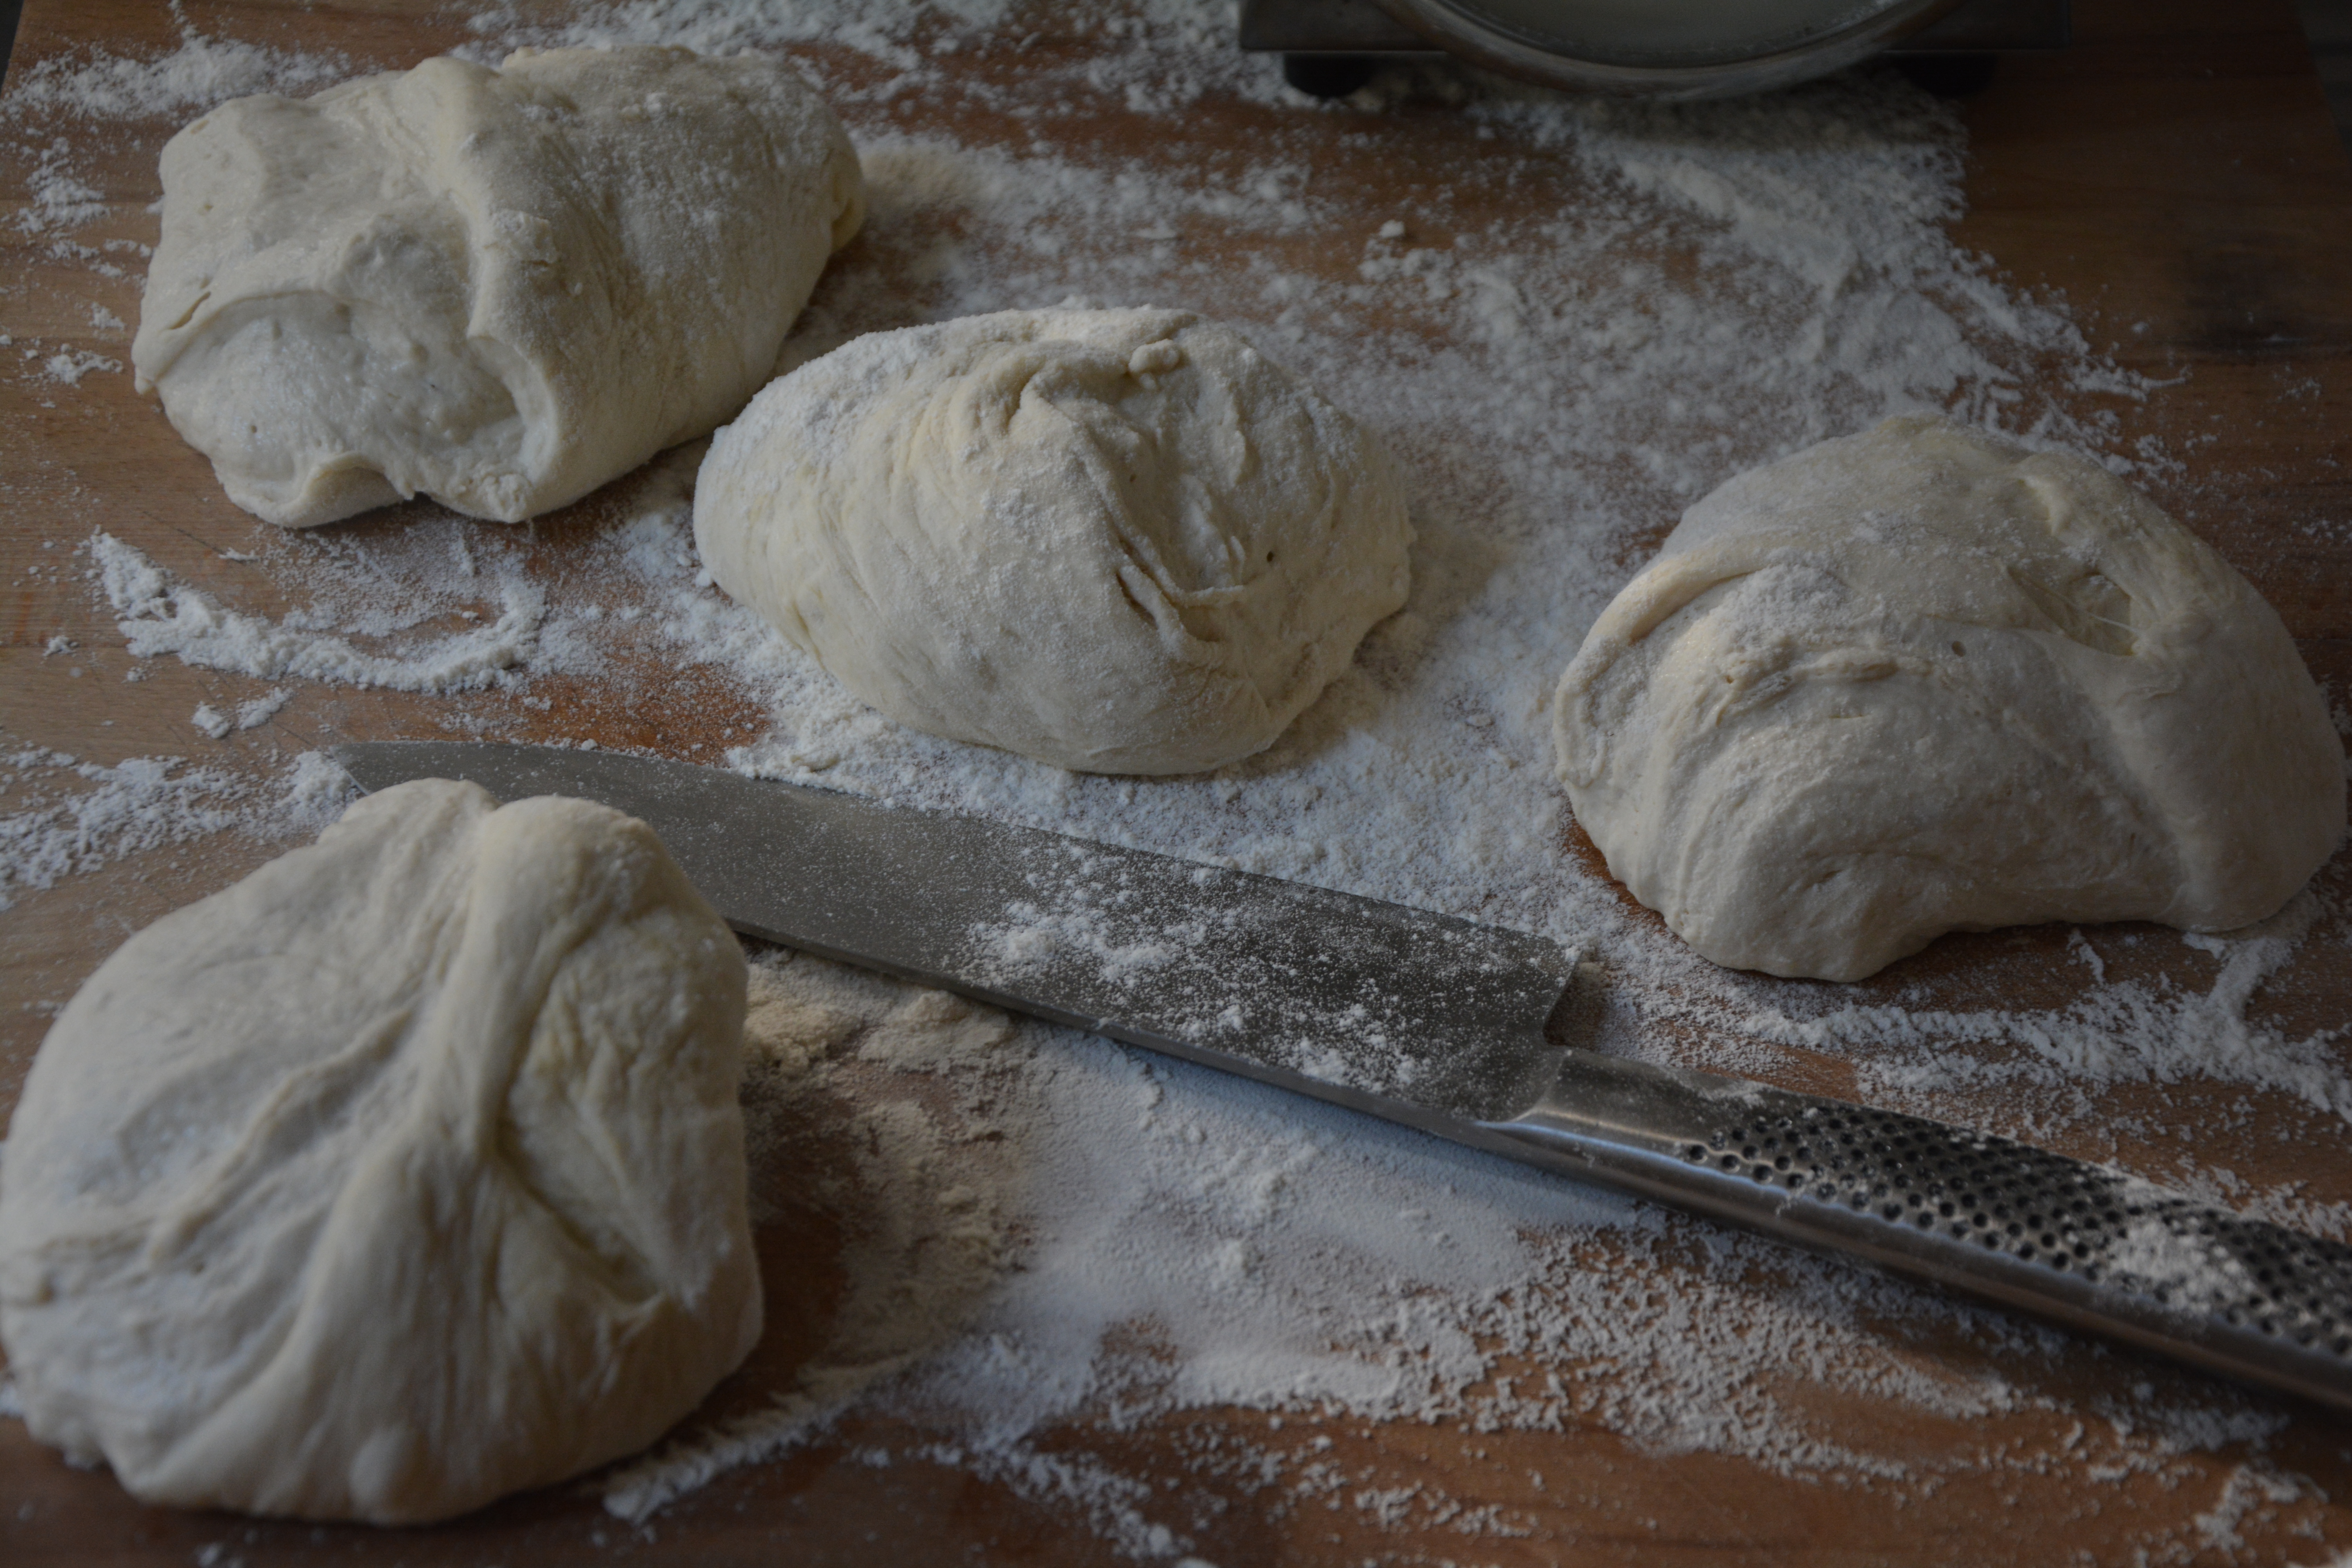
Shape the dough into a flat disc, wrap in plastic, and refrigerate for at least 1 hour, preferably overnight, to give the crust time to mellow. Wrapped tightly, the dough can be refrigerated for 3 days or frozen for 1 month.
How to partially pre-bake it:
How to partially pre-bake it:
Once dough has been chilled in the refrigerator for at least 30 minutes, roll it out and shape it into a 9-inch pie plate. Use a fork to prick all over the bottom and sides, 15 to 20 times. Place the shaped crust in the freezer. Position the oven racks in the bottom and center positions, place a rimmed baking sheet on the lowest rack, and preheat the oven to 425°F.
When the crust is frozen solid (about 10 minutes), line it tightly with a piece or two of aluminum foil. Make sure the edges are completely covered and there are no gaps between the foil and the crust.
Pour pie weights or dried beans into the pan and spread them so they are concentrated more around the edge of the shell than in the center. Place the pan on the preheated baking sheet and bake for 20 minutes, until crimped eges are set but not browned.
Remove the pan and the baking sheet from the oven, lift out the foil and pie weights, and let the crust cool for a minute. Use a pastry brush to coat the bottom and sides with a thin layer of egg white glaze (1 egg white whisked with 1 teaspoon of water) to moisture-proof the crust. Return the pan, on the baking sheet, to the oven’s middle rack and continue baking for 3 more minutes. Remove and cool completely before filling.
 Sometimes when people hear about my job at the Purl Bee they imagine quilting bees and sewing circles, floral tea sets and lace doilies. Sounds lovely indeed, but the reality is that my life entails an incredible amount of time on my laptop! In fact, I hardly go anywhere without my computer. It gets thrown into my bag as I rush off to daycare pick-up; it rides the subway on my way into the store; and it bounces up the four flights of stairs to my sewing studio daily. With all this time in transit, my laptop needs protection!
 My Quilted Computer Sleeve brings together the two seemingly contradictory sides of my life: needle and thread, plus latest technology! I made my Sleeve with sturdy
  Using old-fashioned quilt making techniques to make an engineered laptop sleeve creates the perfect mix of quaint and modern, timeless and timely. And best of all, my trusty computer sidekick will be safe and secure on our daily travels! --Molly
 I have sewn tons of garments for my daughter, from teeny tiny rompers to delicate bonnets, but there’s one thing I had yet to tackle: a classic smocked dress. I have always wanted to try my hand at smocking but was too intimidated by all the tiny pleats and miniscule stitches to actually give it a go. Turns out, my fussing was for nothing; hand smocking is totally easy!
 With just a few well-placed stitches I was able to check this off my sewing to-do list without a single new gray hair. And I am so glad I did! The intricate puckers and pleats of the honeycomb smocking add such fascinating and beautiful detail to this otherwise simple garment.
 If, like me, you’re a bit of a smock-o-phobe, our new
  Or if you adore classic gingham as much as I do, pick up our